Schematics To Create 4x4 DIY Shed: Four Ways To Construct A Shed Fast

Building trusses or cutting eaves for a garden outbuilding is fairly easy. Sheds come in a wide variety of styles and designs. Attach wall to the floor before attaching to other walls. The outbuilding is set on beams. Once that's done, you can put a foundation under it. In layman's terms, you will work from the outside in, adding trusses along the way from both sides, such that you meet in the middle. Move your jack to adjacent corner and try again. Then apply (https://shedconstructionplans.com/8x10-gable-shed-plans-blueprints) a thin bead of clear silicone in recess and embed acrylic sheet in it. Use a circular saw to make the cuts.
See more about fitting shingles here. To draw the necessary cuts, you need to determine angle made between horizontal and the roof, known as pitch of the roof. Partition walls and exterior walls share many characteristics. Drive stakes into ground to mark each corner, stretch string between them and then remove the frame. Cover barrier with gravel and spread it out evenly with a shovel and metal garden rake. Your diagram doesn't have to be beautiful to be functional. Start by laying top and bottom plates side by side and measure starting from one end. Complete this same step on your second row of blocks.
The overhanging eaves would also add a measure of protection for the walls and give you a place to add soffit vents for better ventilation. They're more work and require some extra material, but overhangs provide some protection from rain and snow, which translates to less painting and maintenance. Therefore, check if all the screws (this) are inserted properly and sand the surface with medium-grit sandpaper. Be sure to note that diagonal strut in door slopes toward the lowest hinge, kids. You may need expansion grooves cut in too depending on size of the concrete pad. With shed lifted, we were able to dig out under the walls, and then use a bobcat to excavate rest.
The idea of building by yourself might seem a bit daunting at first. Then place some plastic down to help waterproof your shed, then lay your pavers on top. If the measurements are same, plan to segment all of rafters same length. Instead, stand the framed wall and brace it. Fix the ridge capping to the Purlin at every second corrugation. Drill a starting hole and slice out door opening by using a saw. In addition, you could fit shelves to interior, so that you could increase storage space. The side drip edges, placed at bottom of the roof should be fitted under the tar paper.
The trim ends of the block are against respective sides of joists. Remember to install the rack fairly high up in your shed to free up floor space. Squeeze a bead of construction adhesive onto framing lumber or particle board sister. Use stainless steel staple or the self-adhering roofing. True floor joist span calculations can only be made by a structural engineer or contractor. We decided to go with old broken cement chunks from a demolished sidewalk. We strongly recommend you to take a close look over rest of the project, as to see how to make the floor and the frame of the generator shed.
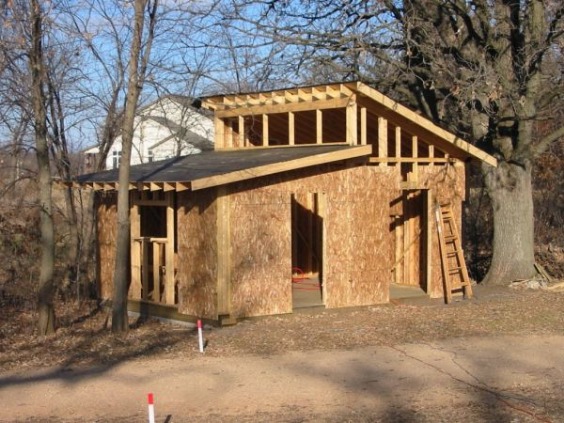
But you can simulate the look of an expensive window without spending a ton of money. Each truss is made up of two 2 x 4 rafters and one 2 x 4 ceiling joist. Start by cutting and nailing together the triple support studs and then toe-nailing them directly over longer triple studs below. It makes sense to ensure you start this job in a sensible direction, taking account of the way you would lift it into place. Leveling the gravel pad may be difficult if you want the pad sloped for drainage. This step transforms the two doors into one that hinges on one side.
Because the wall frames were made and braced square and the floor is level, frames would automatically be plumb. The plants are transported as rolls but they don't like that. Boxed eaves use additional framing members to enclose the space under eaves. A post made from two, two-by-four studs with spacer blocks between them used in place of a single two-by-four stud in the intersected wall will extend beyond intersecting wall's end stud enough to provide a nailing surface on both sides of the intersection. If your ceiling measurement is 8 feet or less, you could use 8 foot lumber for studs.
Make sure the corners are right angles, using a carpentry square.