Greenhouse Outbuilding Construction Blueprints 14x20 - 2 Special Secrets For Building A Shed

Two, using a drill bit that matches hardware, drill one of the holes all the ways trough. If you are thinking of using a concrete foundation then you would have to plan it ahead of time. Repeat this step and install beam at opposite side of the structure. The most important thing to remember when using recycled materials is to be safe. If you're building a new shed on an existing slab that has no anchors, it is fairly easy to install concrete expansion anchors to secure your shed to pad. Concrete is heavy and could break the form and spill everywhere. (https://shedconstructionplans.com/8x12-gable-shed-plans-blueprints)
This is the trickiest stage of planning. And their horizontal lines abound in West and in urban areas. Snap a chalk line between the marks on ceiling. Follow this illustration as you construct the shed. This step by step woodworking project is about utility outbuilding drafts. Wall and mobile cabinets could store all kinds of garden gear and tools. The wall is both heavy and cumbersome, and a few people we be needed to put it in place when time comes to join them together. But you could substitute a concrete slab or provide footings or another type of support for floor joists.
This is a good way to stop high winds from moving your shed. Since locating buried utilities is free, it doesn't construct any sense to skip this step. It also stops or limits draughts and rain. They provide a level (this) surface for the pressure treated beams to sit on. A few weeks before you start, check with your local building department to see whether a permit is required and to find out how close to the lot lines you can build. You can also see in this picture the hurricane clips that are in place on top plate. The bottom and vertical length of the triangle.
As such, you have to choose the right lumber which is the main material that you need for your roof truss. The subflooring is most likely sheets of particle board, but could be another type of wood, especially if you have an older home. On all sides but the front, we made roofing overhang the edge such that any dripping water wouldn't go directly onto wooden trim. In milder climates, super-insulation is overkill, but it is helpful in colder climates, where masonry absorbs and radiates cold. Nail along lines of rafters and raking top plates. Post-and-beam frames generally stay exposed, adding a visual architectural element.
Draw a horizontal line from the desired fascia thickness toward the birdsmouth. These forms would prevent the piling holes from filling up with gravel when added. If you also have timber to store, this rack is perfect to help organize your shed. Years down road, sliding doors won't sag and stick way swinging doors do. To follow pitch of roof, the back crosspiece sits slightly tilted inside side frames. This would allow easy access to garden tools. Grab a helper and set rafters onto your marks and toenail them to the top plate and screw them to the hurricane ties.
When you get within a foot from crown, start at the bottom of the other side and work your way up again. A nailer strip is a board running perpendicular to the rafters that tin sheets are screwed too. Space collar ties not more than 4 feet on center. When those ceiling members are removed, they must be replaced with something else that would hold up weight of roof. Once you have installed all walls, you need to strengthen framings. The last pair of girders has a collar tie recessed across front for added strength. First, size of shed will determine location and number of concrete posts.
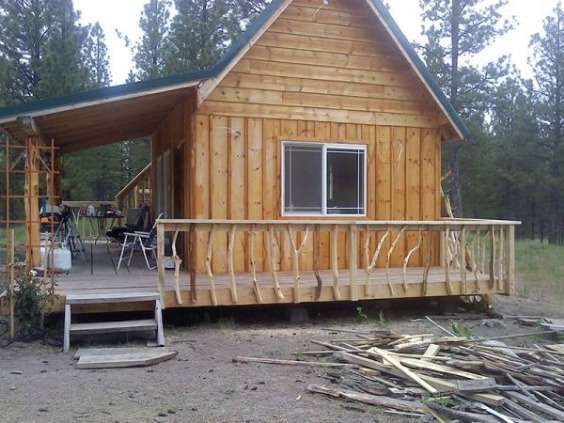
This outbuilding has the front wall opened, so you have an easy access to the inside. You can opt for one with a dual entrance, which not only maximizes on space but also on accessibility. Also the front and side needs to have hinged shooting windows. Install a door latch to close it properly overnight. Cut corrugated roof panel to size and install. You could adjust the size of the sheets to the right shape using a circular saw with a sharp blade. It's quite common, for example, to see a hipped roof with gable dormers. We chose to install it in two pieces so that we could remove back overhanging portion to make the outbuilding road legal.
The only additional consideration would be adding a latch and lock to keep the side panel from being open by thieves.